Support & Help - Filters
Key Points
- Filters appear near the top of most pages, directly under the black menu bar.
- The display of filters is compressed on small devices such as phones or tablets.
- For each page, a user can pin frequently used filters to the displayed list.
- Filters currently in use are highlighted in orange.
- Some pages have a quick filter option on the left of the filter bar.
Introduction

The filter bar is the entire section shown under the black menu bar. It is available on most pages.
The purpose of the filter bar is to provide a way to narrow the displayed results. For example, one may want to see the ToDoQ work order assignments for one person only. Narrowing the Assignments filter to that one person accomplishes that goal.
For Smaller Devices...

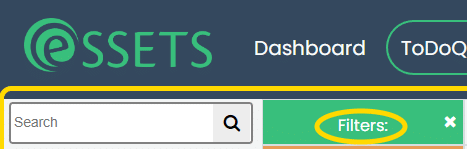
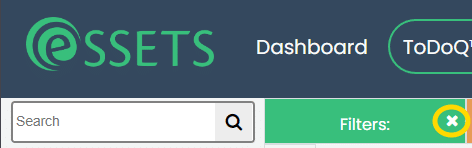
Because smaller devices, such as phones, don’t have enough room to show the full filter bar, we’ve compressed it for the smaller screen size. Only the quick search, when available, and the main filter button are visible.
Current Filter Status

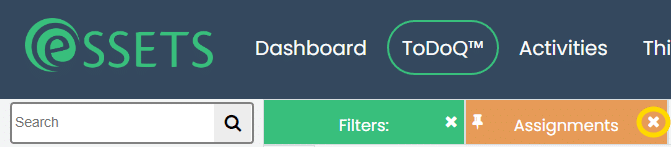
A key feature of the filter bar is that it shows which filters are active by color-coding its tabs. Only active and frequently used (pinned) filters appear. All other available filters are hidden from view.
Active filters are shown in orange. Frequently used filters that have been pinned but are not actively being used are grey.
Quick Search
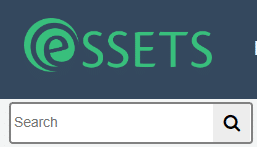
Quick search, when available, appears directly under the eSSETS logo. This is a smart search tool that behaves differently depending upon which page it appears.
For example, the smart search on the ToDoQ page matches any of the following:
- Description of the work order
- Work order ID
The documentation for each page describes what matches are used for quick search.
Add More Filters

To further narrow the results on a page, simply click the + on the filter bar. This opens the Filtering dialog box.
Filtering Dialog Box
All pages with available filters have Filters as the first tab in the filter bar. Clicking the Filters tab opens the Filtering Dialog Box.

Although the available filters vary from page to page, there are a number of common characteristics for any Filtering Dialog Box:
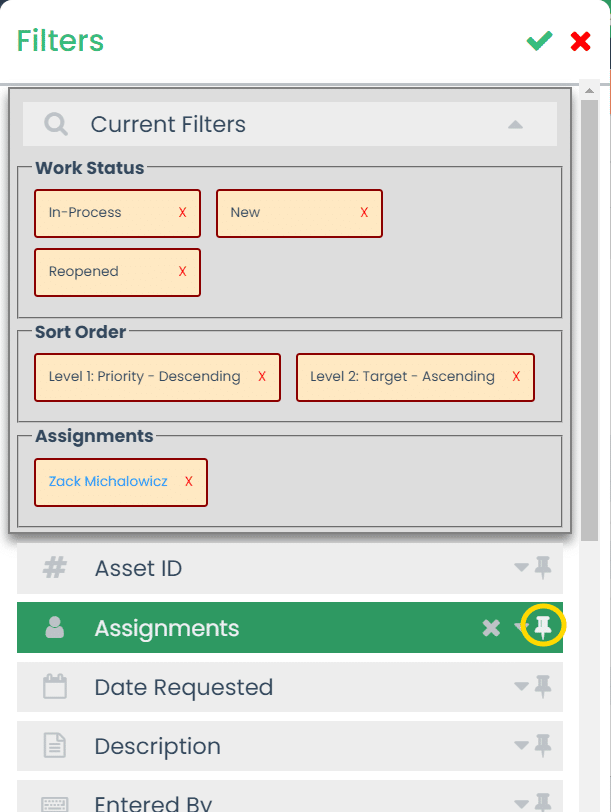
- The list of currently applied filters appears in the Current Filters section.
- A list of filters available on this specific page follows the Current Filters section.
- Currently active filters appear green, whereas inactive filters appear in grey.
- In the top-right corner of the Filtering Dialog Box, there is a green checkmark to rerun the page using any new filters.
- Clicking the red X in the corner resets the filters to how they were when you first opened the Filtering Dialog Box. The page is not rerun because no filters are being changed.
Setting a Filter
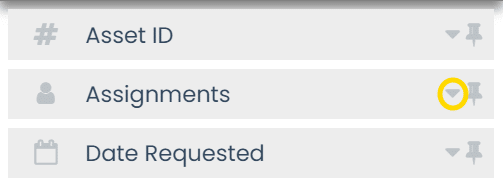
Each filter available on your current page is assigned a section. To open the section so that you can enter values for the filter, simply click the down arrow.
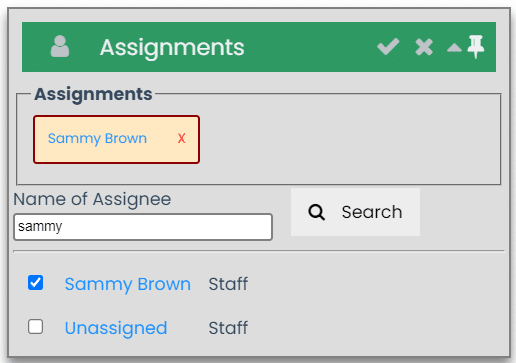
Each filter has different methods for entering values. Using the Assignments filter as an example, one enters a name, clicks Search, and marks the assignee for inclusion in the filter.
Regardless of how values are entered, there are several common characteristics for all filter sections:
- As values are entered, they are displayed in small boxes near the top of the filter section.
- If you make a mistake, you can remove a value by clicking its red X.
- Once all of the values you want are entered, you can apply the filter by clicking the checkmark to the far right of its name. Only the values shown in the small boxes are included.
- Clear all of the values at once by clicking the big X to the right of the filter’s name.
Resetting All Filters
When you’d like to set the page back to how it normally displays, clicking the X in the Filters tab clears any filters you have set.
Clearing One Filter
Perhaps you have set several filters and want to eliminate only one of them. Just click the X to the right of the filter to be discarded, and the page will refresh with that filter removed.
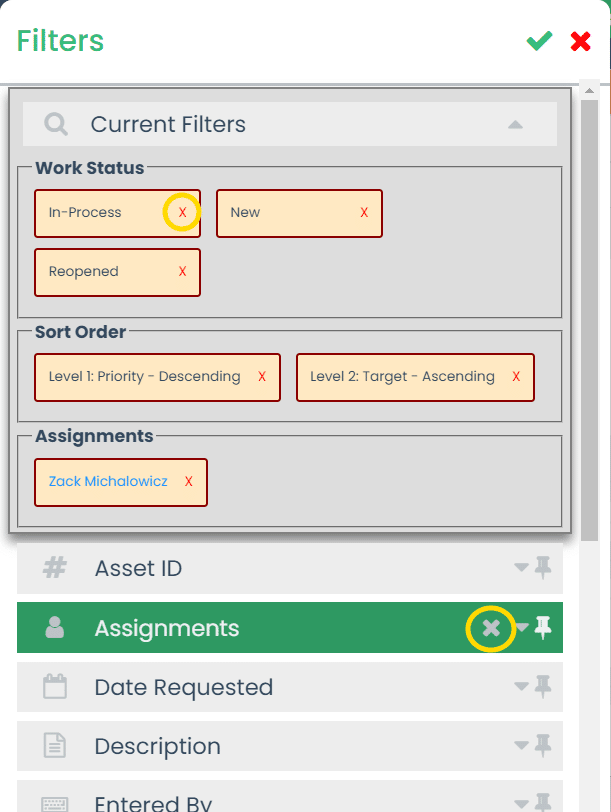
If you already have the Filtering Dialog open, you can also click the X to the right of that filter’s section to clear that filter entirely.
To remove individual filter values, you can click the red X to the right of the value shown in the Current Filters section.
Pinning Frequently Used Filters
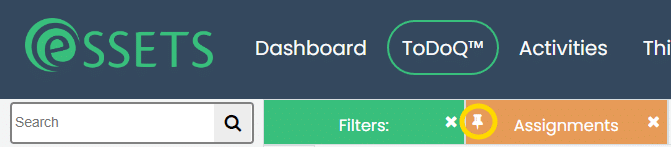
Do you have filters that you find yourself using over and over? Click the pin icon to the right of the filter name, and that filter stays in the filter bar whether you are using it at the moment or not. Open a pinned filter by clicking on its name.
Find out later that you don’t use it as often as you thought? Unpin the filter by clicking the pin icon, and now it goes away from the filter bar when no longer in use.
If you already have the Filtering Dialog open, you can also click the pin icon to the right of that filter’s section to pin or unpin it.